Over the years I’ve purchased rifle barrels from several different companies. All in all, the barrels made today are of excellent quality and it is not very often that accuracy problems related to the barrel occur. I prefer hand lapped barrels as they have a shorter break-in time. In regards to the rifling being cut or button pulled, I’m not too concerned, as long as the barrel has been stress relieved and no integral machining is being done to it.
During the building of a custom rifle, I try to eliminate as many variables as possible. It is really important to perform step by step to tight tolerances. Should later accuracy problems occur, a lot of possibilities for the cause have already been eliminated. On a bolt action, preparing the receiver is the first step. This consists of facing the receiver ring on the lathe and making sure that the bolt lugs are making good contact and that the bolt face is aligned with the action.
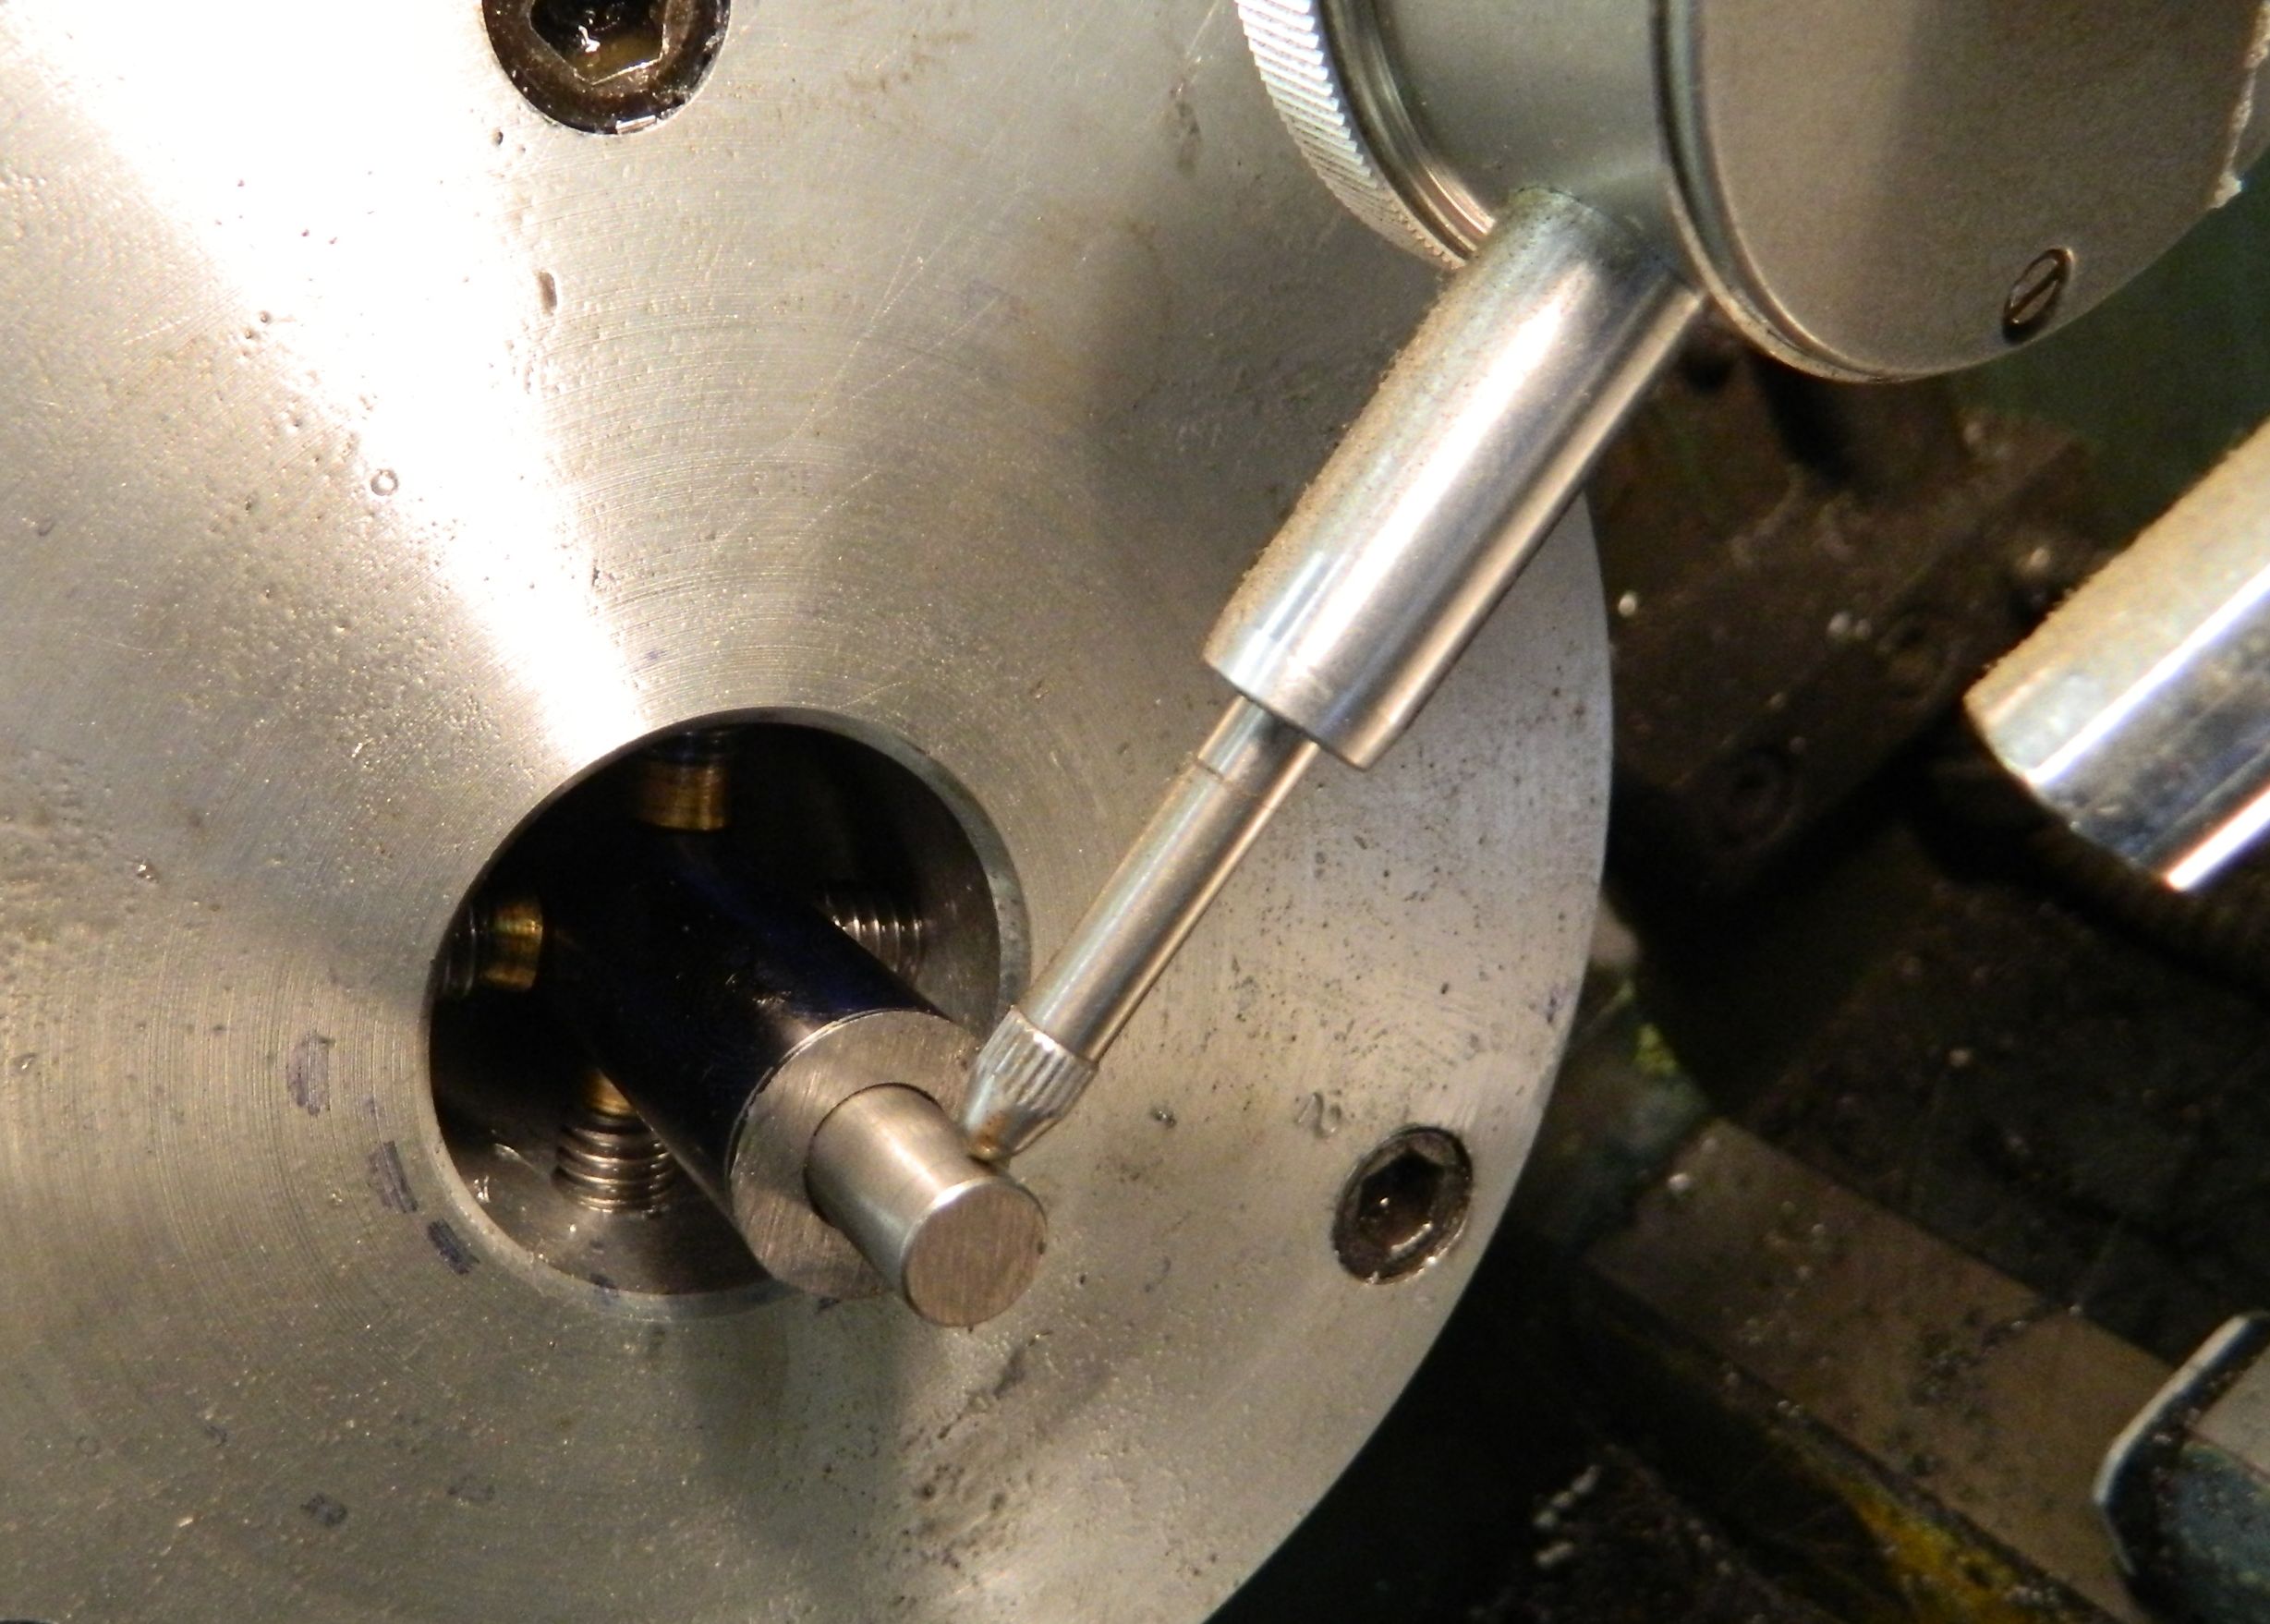
There are different approaches to turning a barrel in the lathe. I prefer to clamp the chamber end and muzzle end in what we call “spiders”. Each end is held with 4 screws and the bore of each end is precisely dialed in with a dial indicator and a proper fitting plug gauge inserted into the bore. This way the barrel will spin in the lathe true to the bore and subsequent the treads and chamber will be true. After dialing it in, I usually start the lathe and look through the bore. At this point I have a really good idea how straight the barrel has been made by the barrel maker.

After facing the breech and rough cutting the barrel shank, I usually double check my set up with a dial indicators.

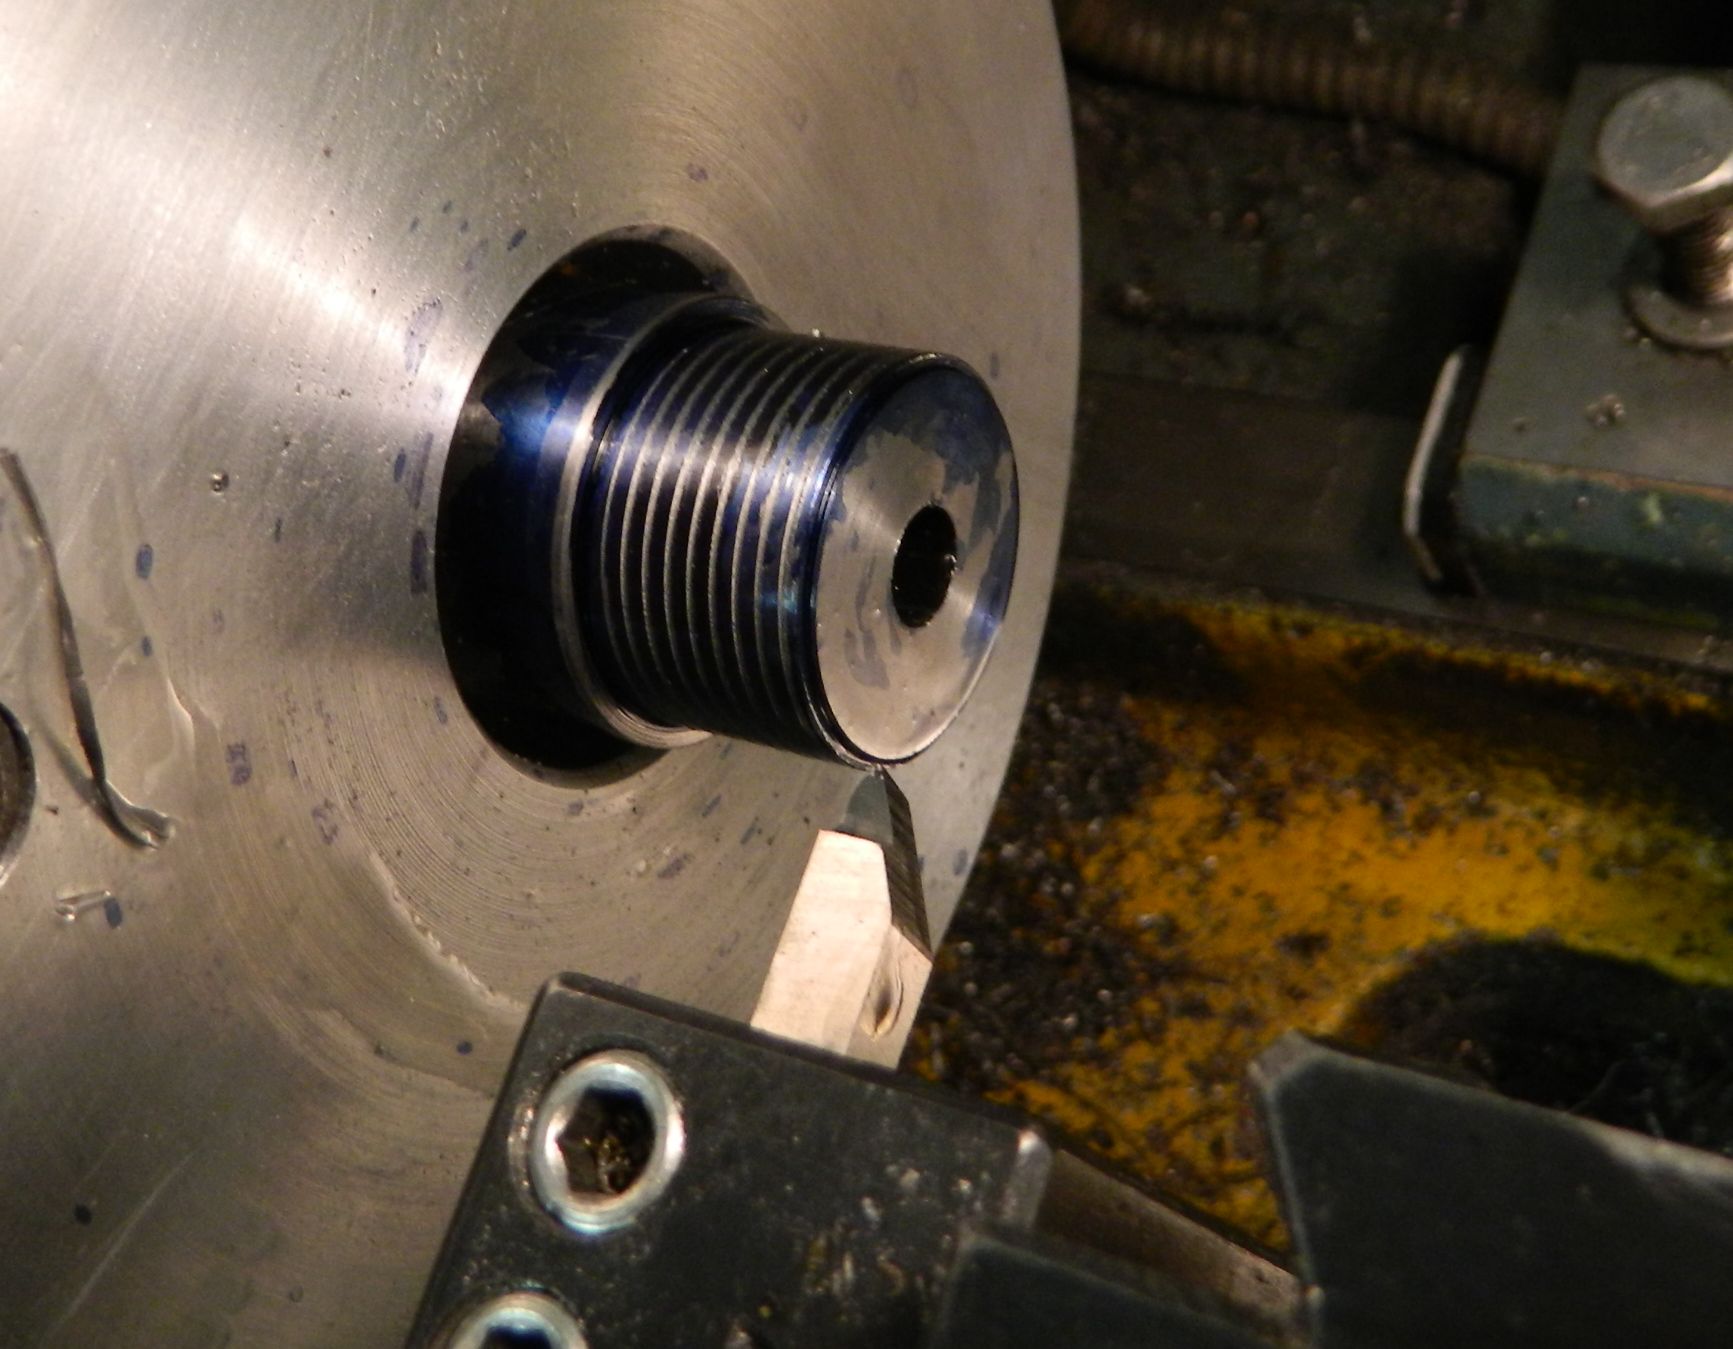
The picture above is of single point tread cutting. The tool is moving towards a shoulder and close attention must be paid. The lathe carriage has to be disengaged and simultaneously the tool has to be retracted at the right point. For a beginner, this can be nerve wrecking.
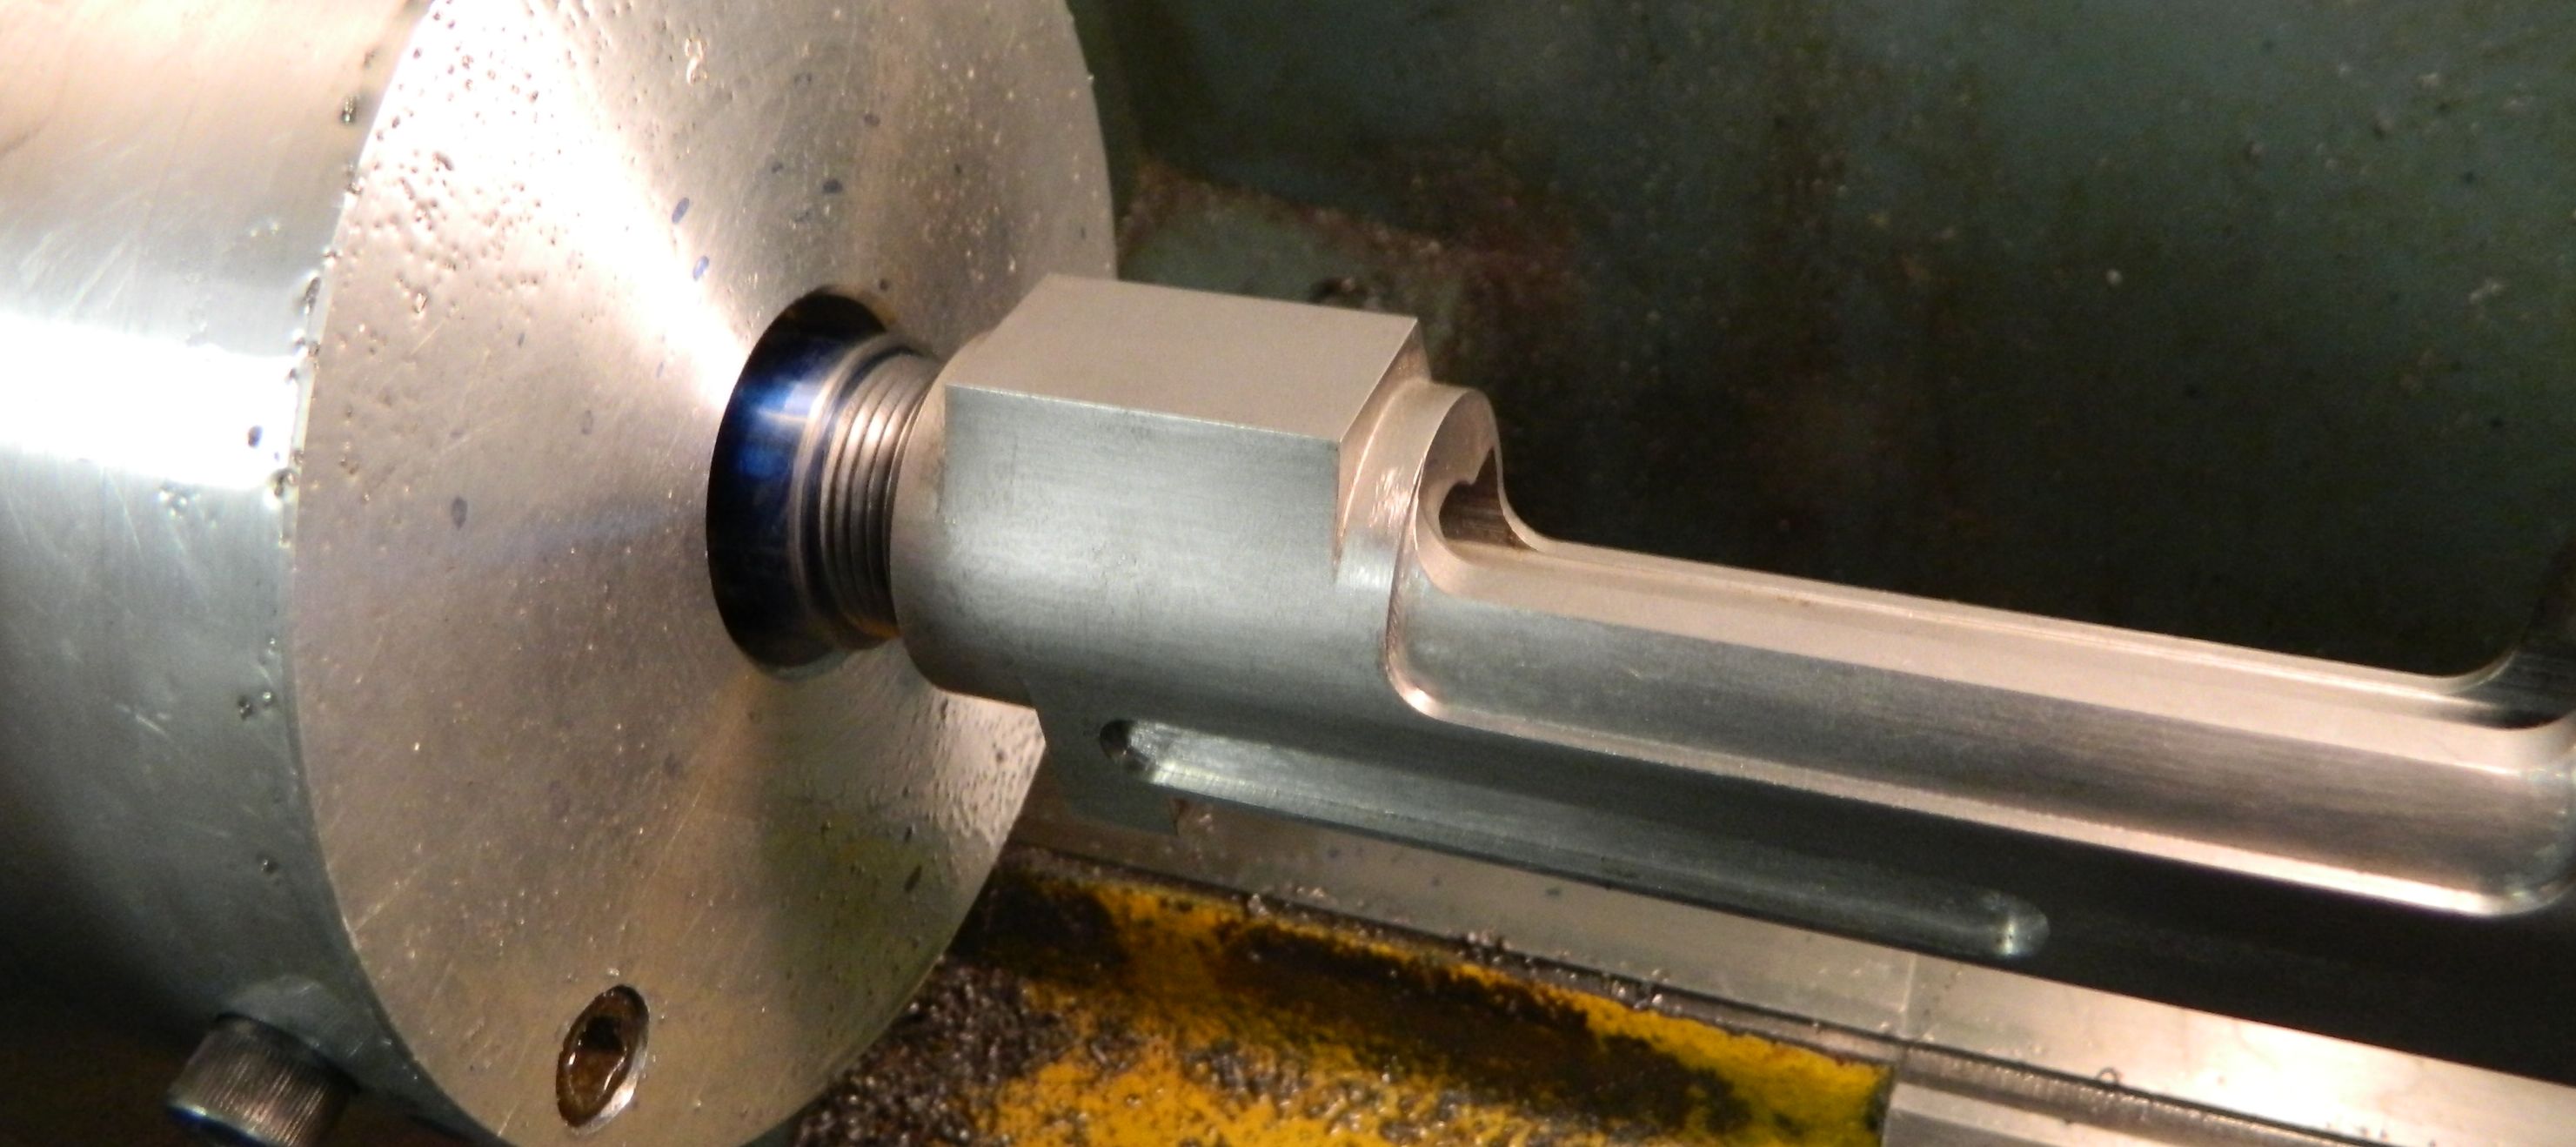
I’m a firm believer that sloppy threads can impact the barrel accuracy. As I get close to the tread depth, I start to double check with the receiver after nearly every pass. The goal is that the receiver will screw onto the barrel without any play.

The next step is the cutting of the chamber. I drill and then ream the chamber in several steps, making sure the pilot of the reamer always guides the tool. I get the chamber pretty close on the lathe, but prefer to ream the last few thousands by hand, as I have a better feeling for it.
Once the breech end is finished, I will remove the barrel from the machine and cut it to length. The barrel will then be re-installed in the lathe the same way as before, but flipped, so that the muzzle can be machined. Again both ends are carefully dialed in.
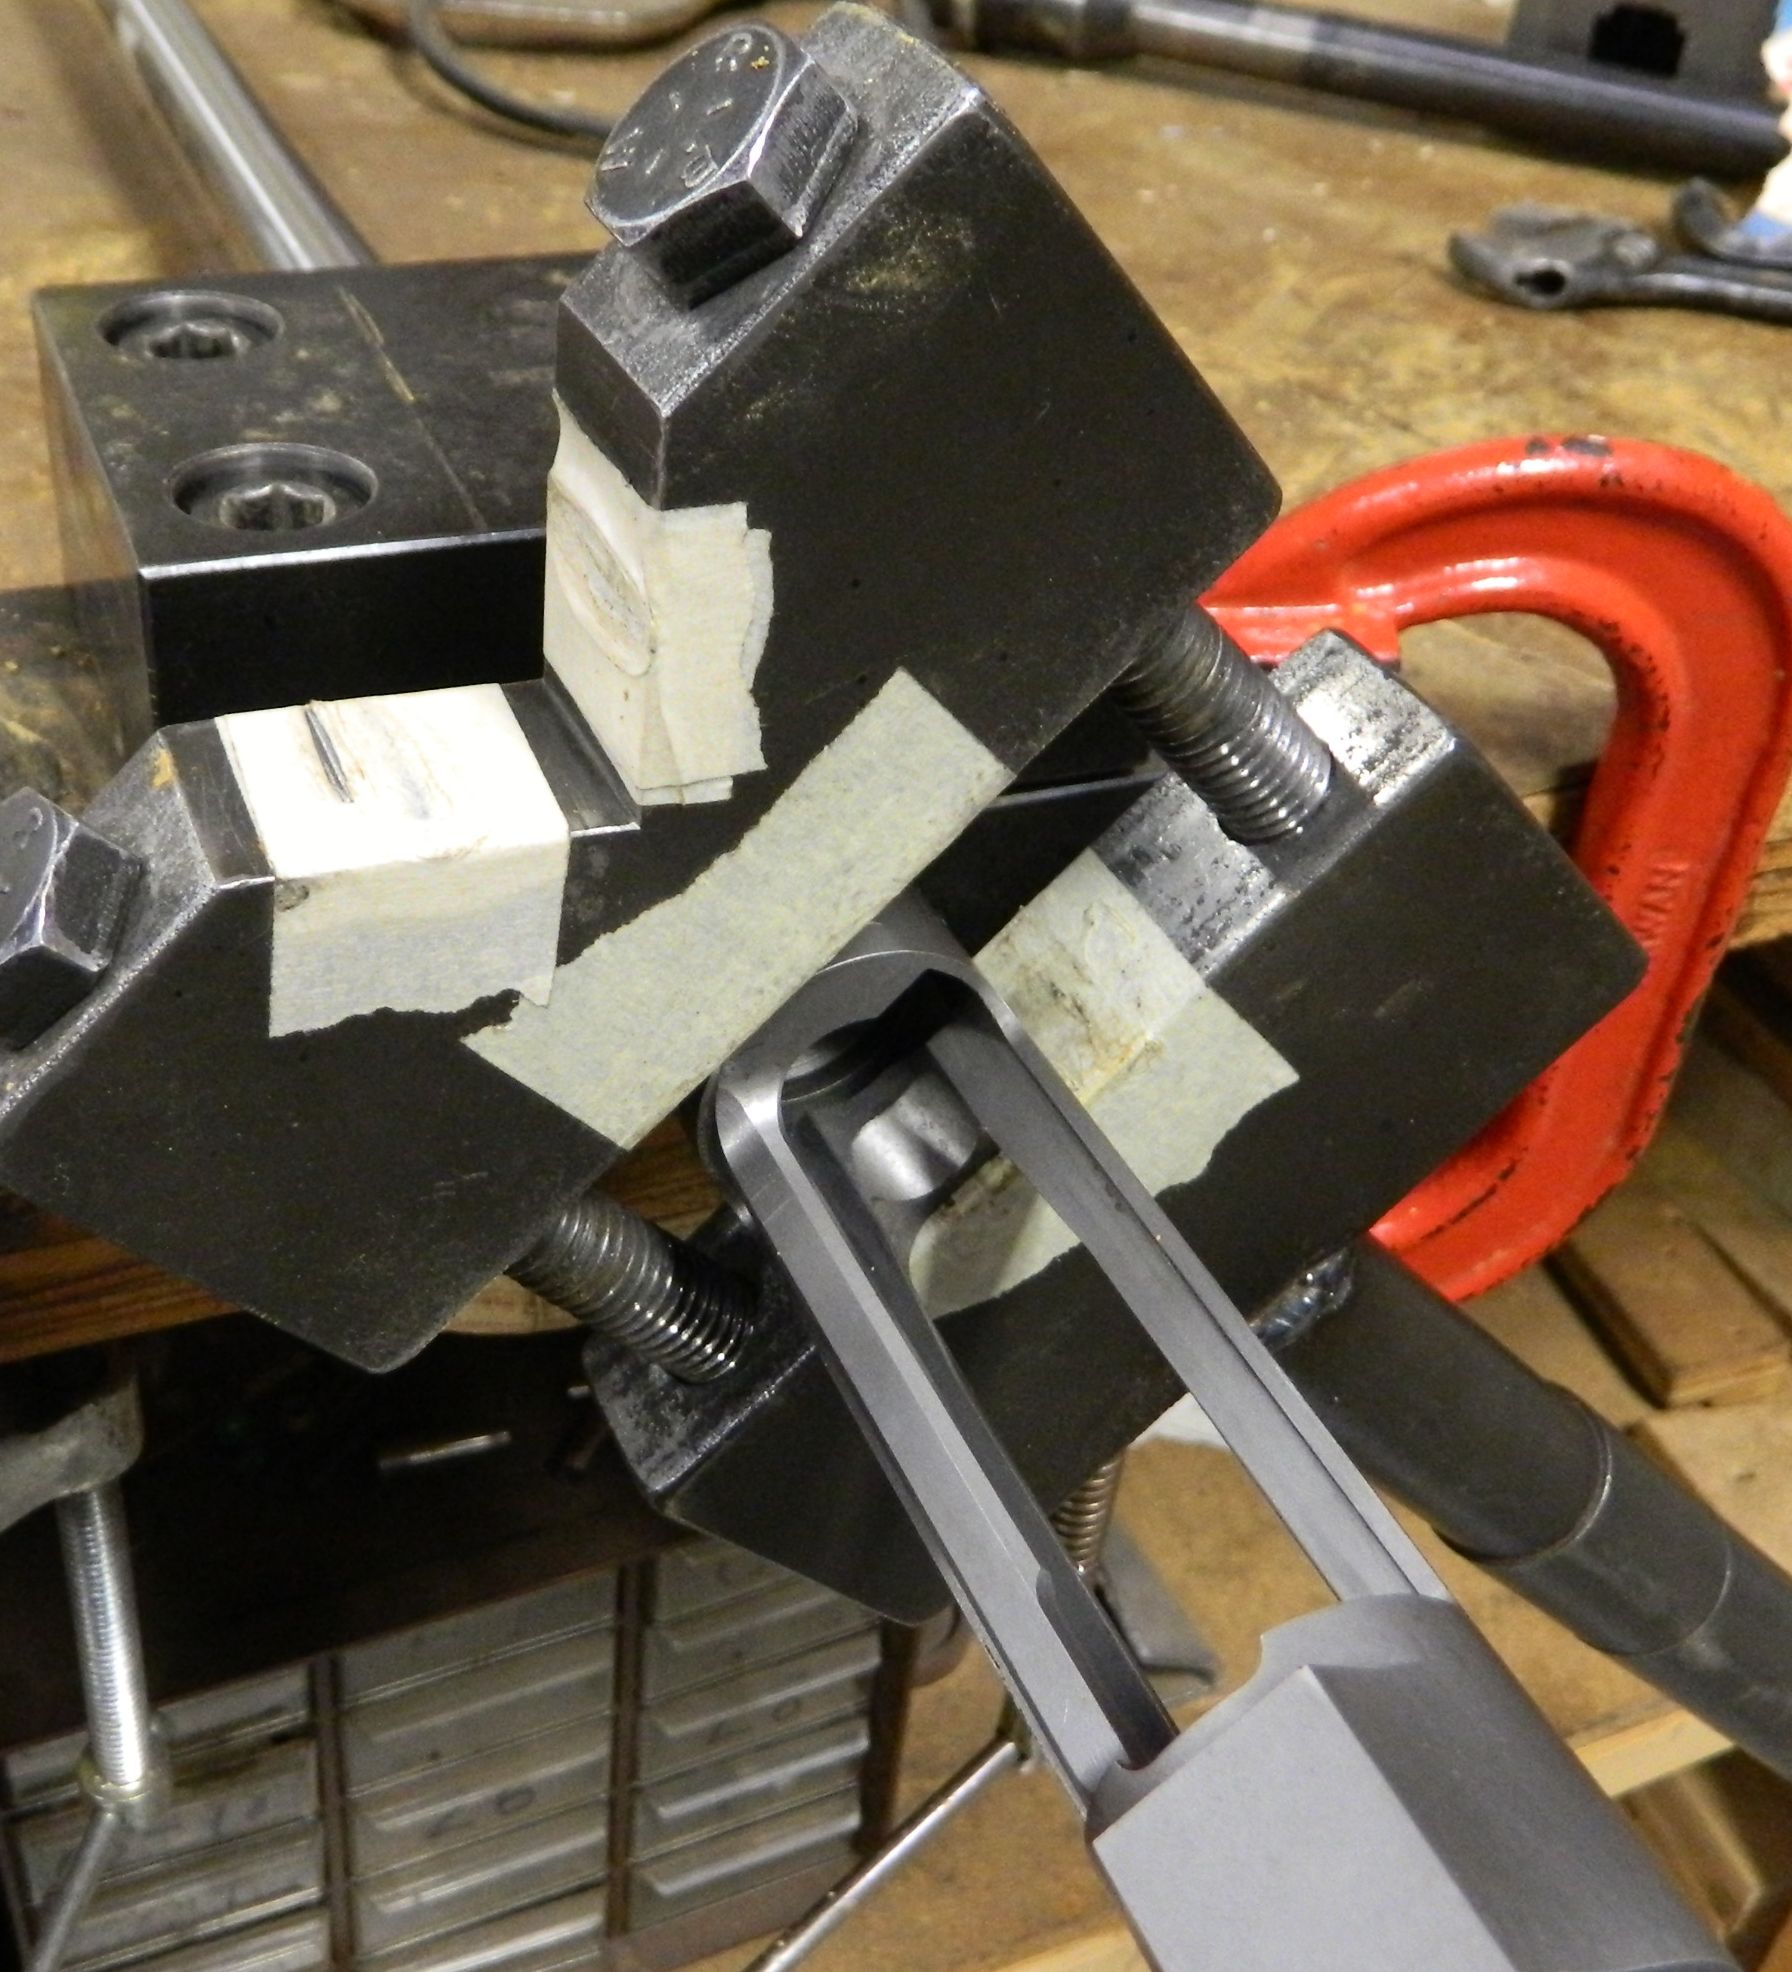
After the machining the receiver can be installed onto the barrel with the help of a barrel vise and action wrench. The final step is the head spacing and polishing of the chamber. Depending on the type of action, the breech end might require in addition an extractor cut.
I like to take my time for these operations. A job well done will provide the basis for an accurate shooting rifle.