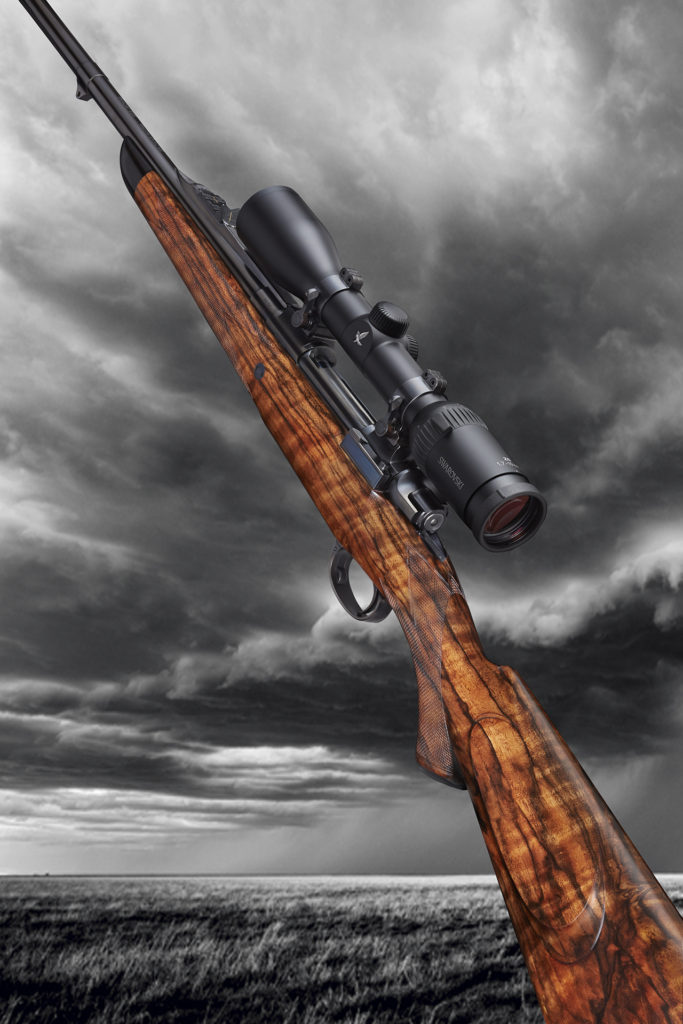
After my client received the pictures of this rifle he told me that this is his dream rifle. He thought that it had turned out nicer then he could have imagined. It’s currently in transit and he will shortly receive it. It’s a privilege to make dreams come true and I’m honored that he chose me for this project.
The rifle in the picture is in the caliber .30-06. I’m surprised how popular this caliber has been in my shop over the years. But then again, the overall style of my rifles is very traditional and mostly based on pre-war made rifles. I guess naturally I attract more traditional minded clients and calibers such as the 7×57, .30-06, .300 H&H, .375 H&H, .404 Jeffery continue to dominate my orders.
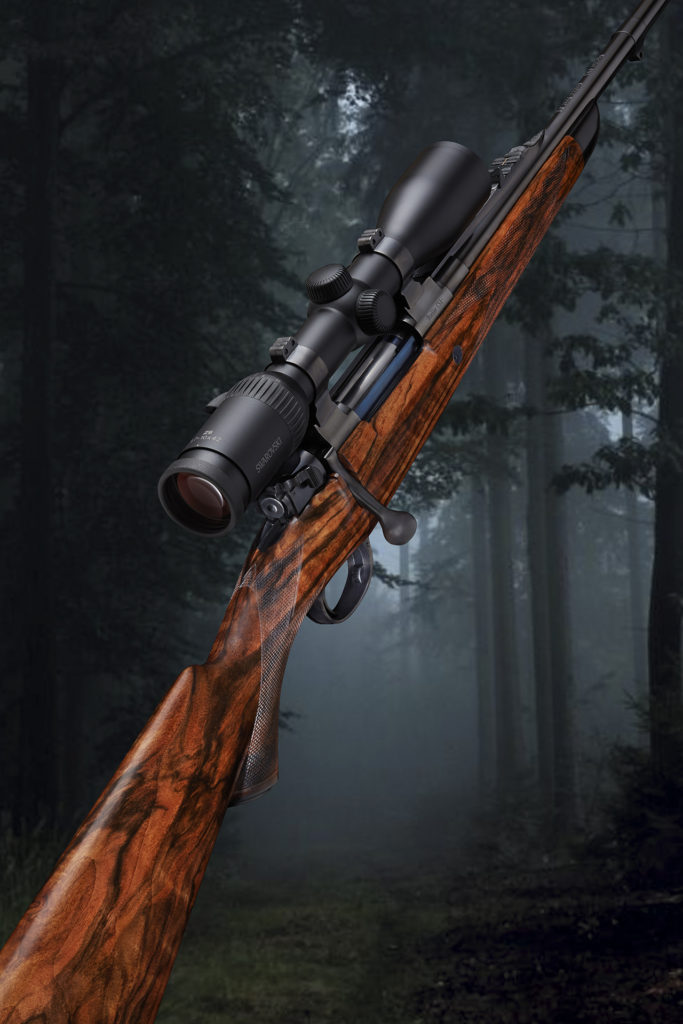
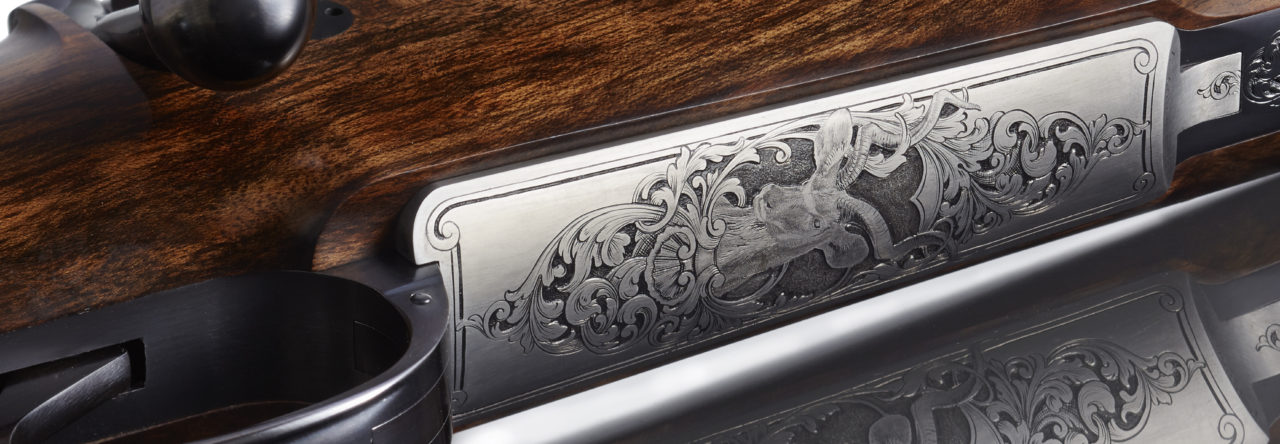
This rifle is based on my model “English Express”. The pictures where taken by Brian Dierks, an outstanding local commercial photographer and friend of mine. He does all the commercial photography for the Harry & David company. I strongly recommend him for any type of commercial photography. Guns are particularly difficult to photograph, having all these round and shiny surfaces.
The following pictures will provide insight into several of the typical steps I take when building a bolt action rifle. The pictures show the .30-06 rifle in process :
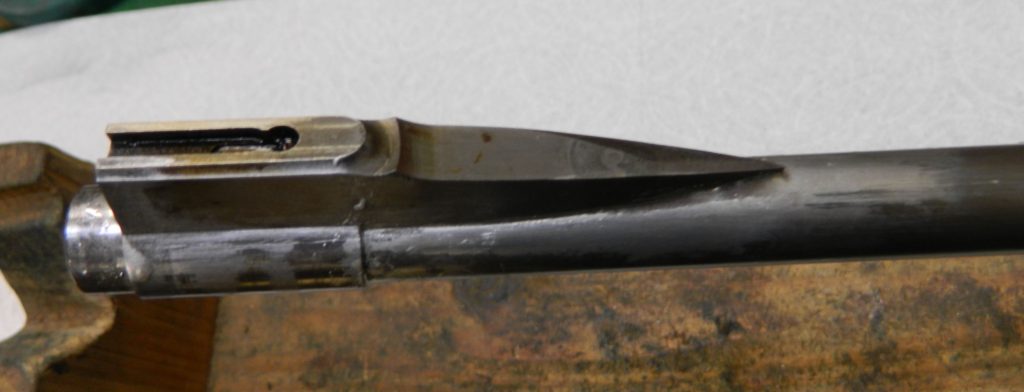
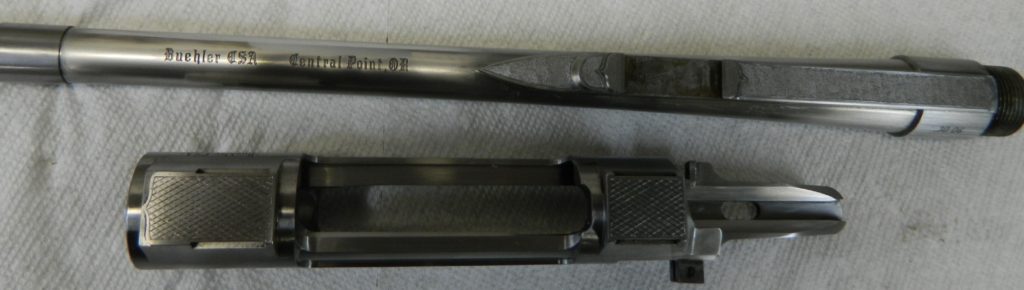
First the action is prepared for barreling, which includes trueing of the receiver ring and the lapping of the recoil lugs. After the barrel is installed the sight ramps are fitted and soldered to the barrel.
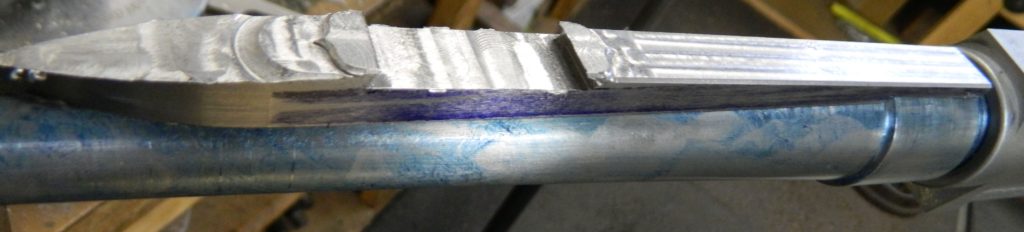
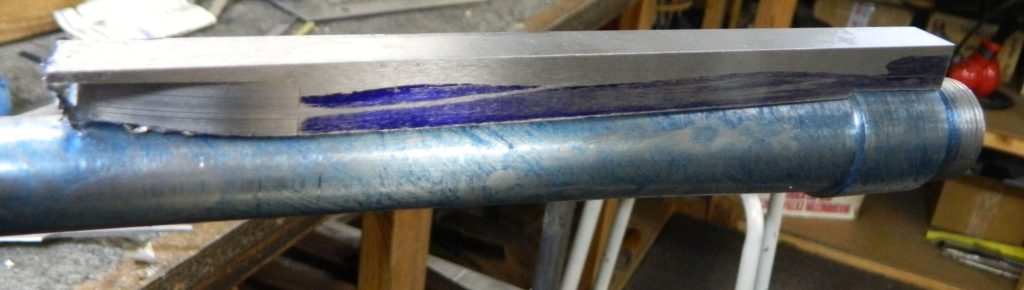
At first I fit the quarter rib with in-letting blue, and for a final fit with smoke.

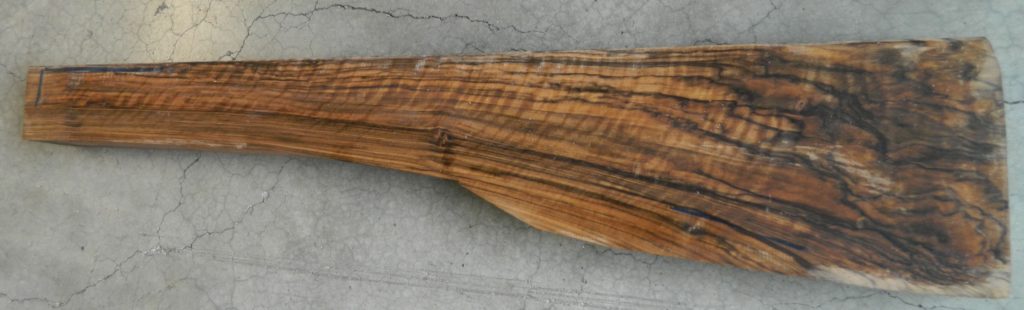
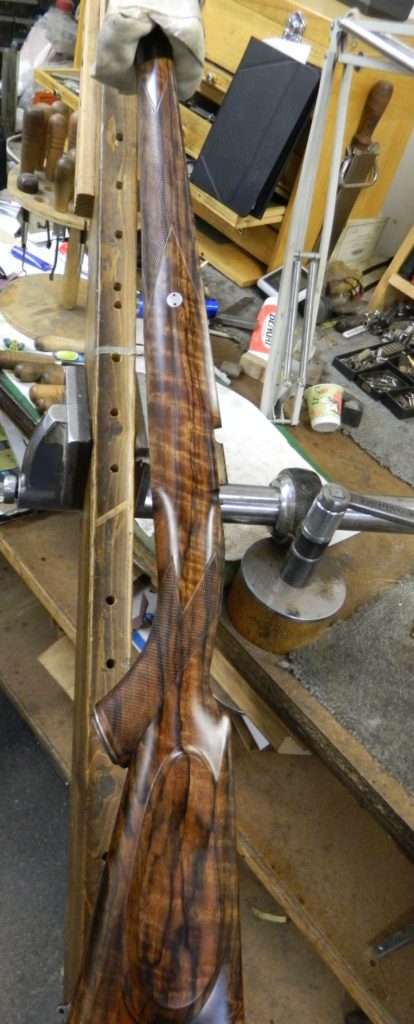
The stock started its journey from a beautiful Turkish walnut blank. This particular blank was purchased and shipped directly from Turkey.
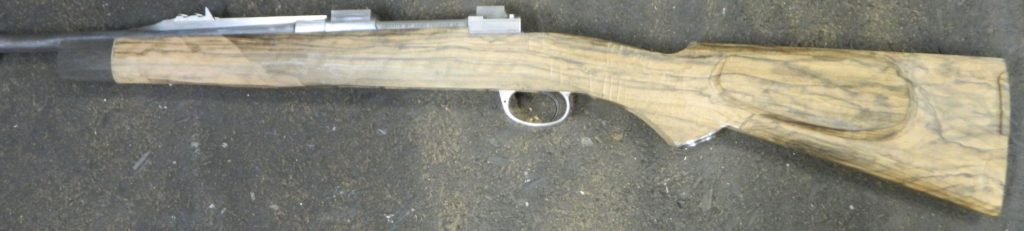
I usually glue the barreled action into a pattern and then carve the stock on a Hoehnig duplicator machine. The picture above shows the stock rough carved, the metal inlet and the ebony forearm tip installed. The outside of my stock patterns are pretty crude and oversize and allow me to shape the actual stock to the dimensions required by the client. I don’t spend much time on pattern work, but rather spend the time on the actual stock.
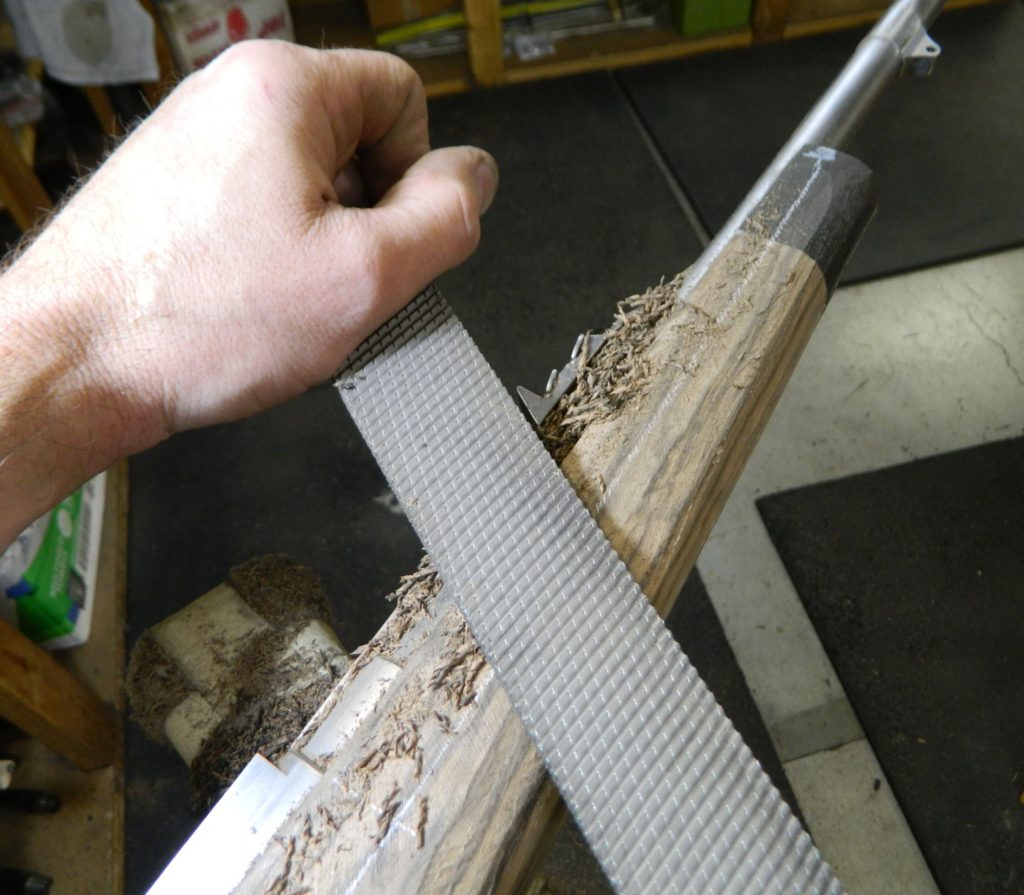
After hours of chiseling, filing and sanding the stock is ready for the first coat of the finish.
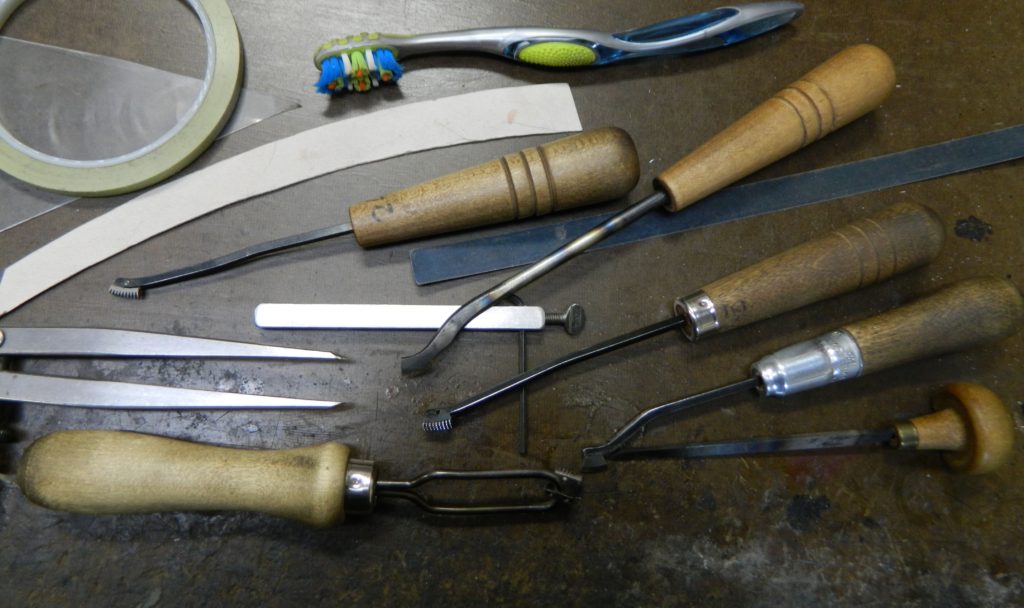
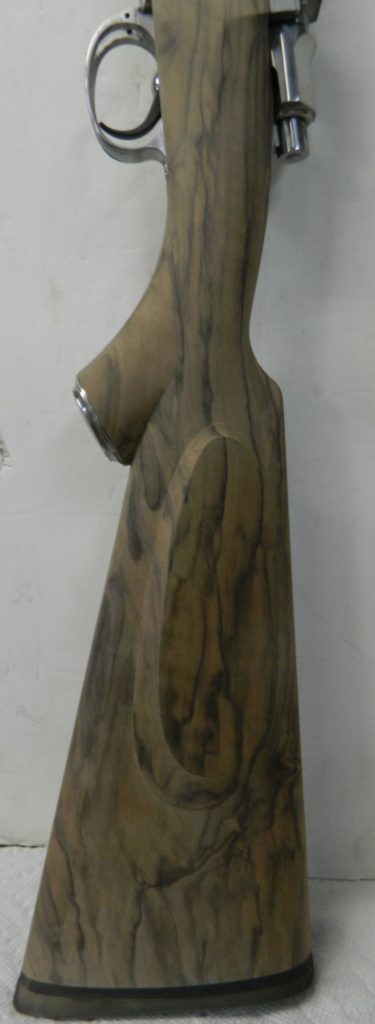
After about 10 days of daily finish applications, the wood is ready for checkering. In this case we chose flat top checkering. The picture above is of all of the tools I used on the checkering.
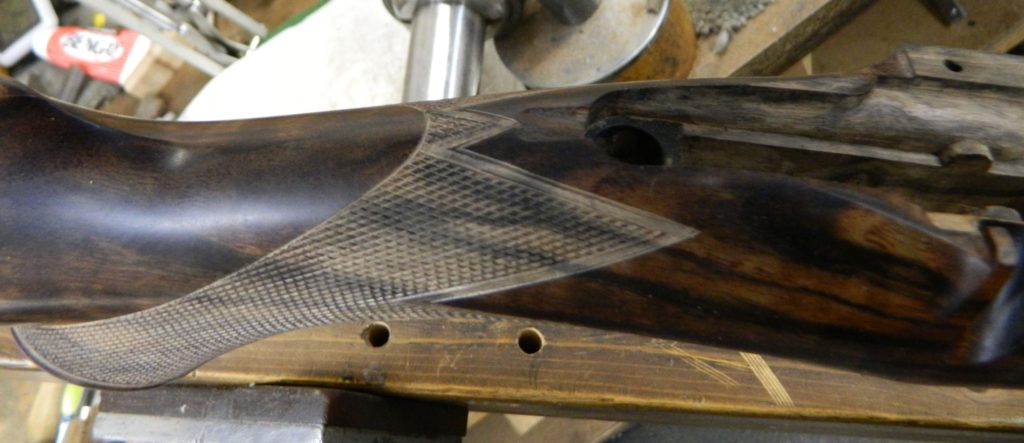
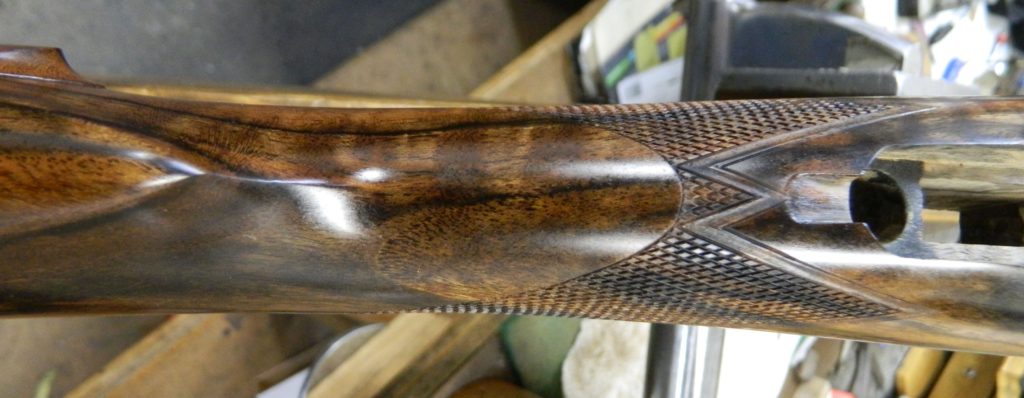
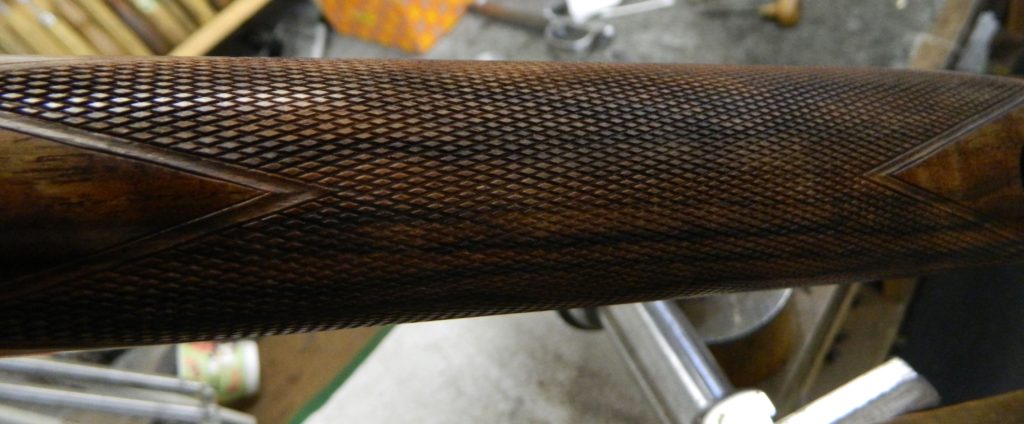
For this particular stock I think flat top checkering was preferable. It doesn’t cloud the beautiful grain of the wood as much as diamond points . The next step was to prepare the rifle for bluing, but before disassembling everything I tested it one more time for accuracy at the range.
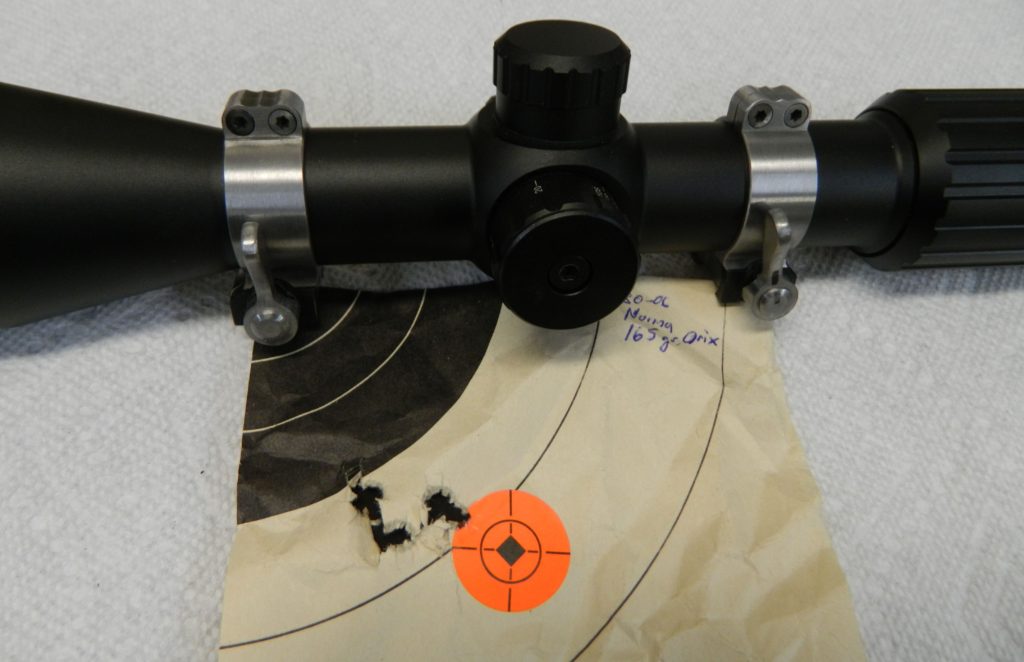
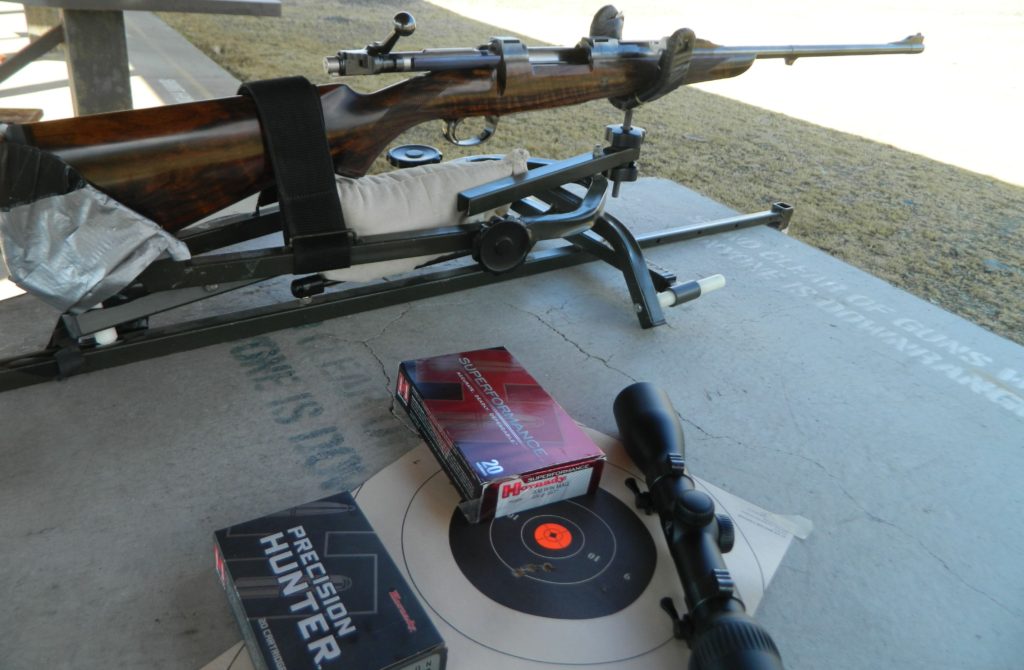
After bluing and final assembly, the rifle was tested once more for function and accuracy with several brands of ammo. I shot it with the Swarovski scope installed and with the open sights. I also tested the accuracy of the scope mount with taking the scope off and on between shots.
My job is done, and I hope it will accompany my client on many future adventures.